- First Name
- Kira
- Joined
- May 30, 2026
- Threads
- 2
- Messages
- 7
- Reaction score
- 33
- Location
- Detroit Metro
- Vehicle(s)
- 2026 Ruby Red Maverick Hybrid Lariat
- Engine
- 2.5L Hybrid
- Thread starter
- #1
Hello again!
Not even 2 weeks after bringing my baby-truck home did I realize this vehicle is a rock chip magnet!! When I had the tint installed, less than 1 week later, I was driving through a construction zone behind what I remember was a Chevy Spark and a rock flew out like a missile and cratered my windshield. Thankfully it was a free repair via insurance and it avoided the paint because I could tell it would've caused a dent.
Then one day I was backing into my spot and some toddler playing on a pile of rocks threw one at my door. About gave her a free ride scholarship through preschool, but decided that it would be worth it to check out touch up pens since already I was getting sprayed with rocks on my highway trips, especially since I tend to drive in the slower lanes and behind semi trucks frequently.
I've never tried to touch up paint on a car before, kinda been intimidated by the process and assumed I couldn't get good results, but I had some rock chips on the hood now, which I'm aware is aluminum and can't rust, but since I was going to stick a hood protector unibrow on the truck anyways I figured it'd be a good spot to guinea pig my technique.
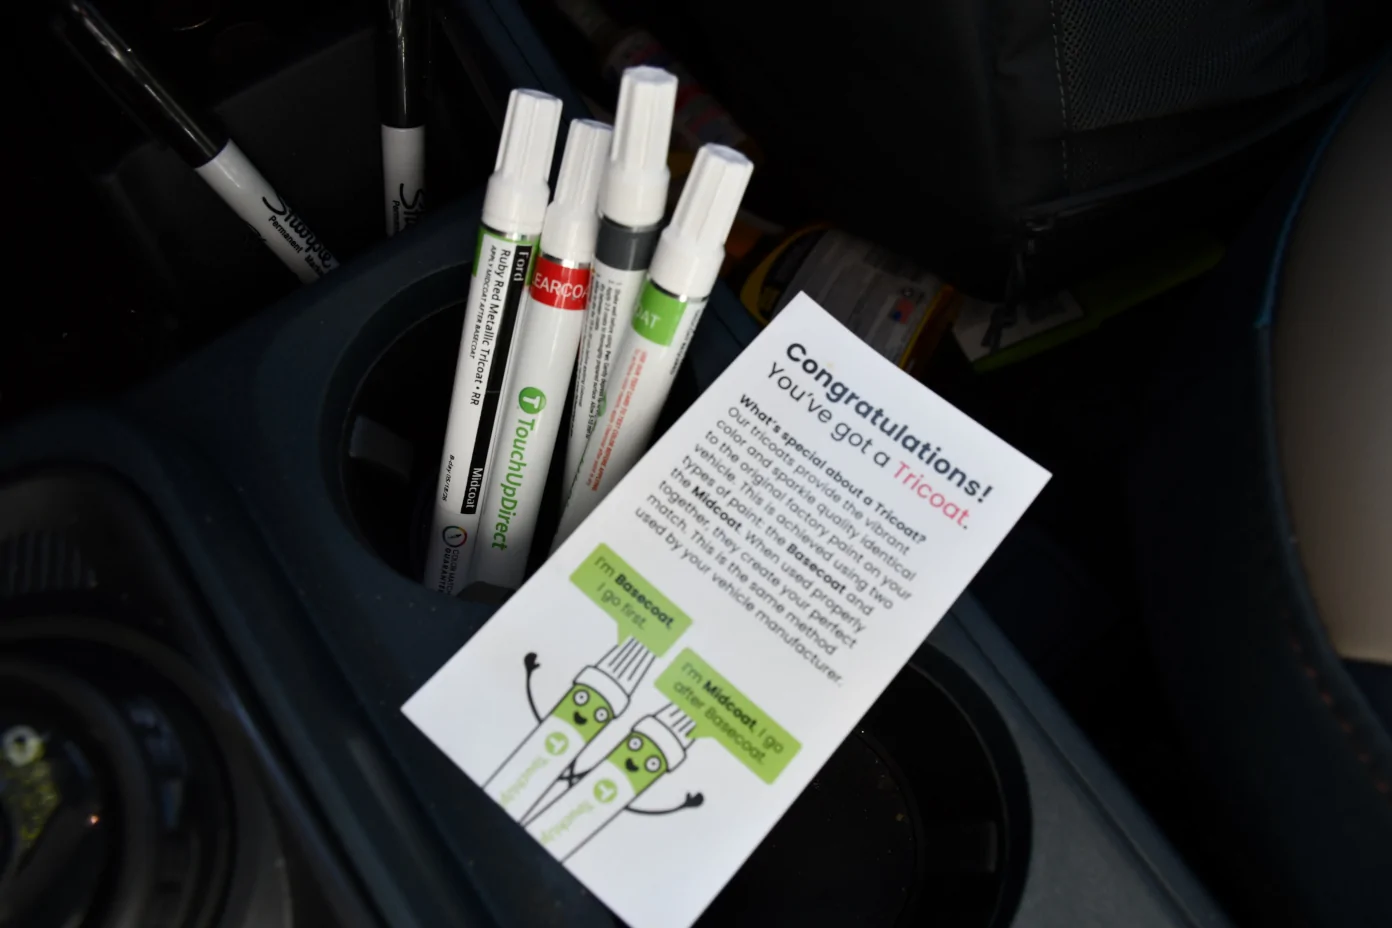
I went through TouchUpDirect. Originally I was hoping to find a touch up kit through Ford but they didn't have a kit outlined anywhere on their accessories site so I just web searched for a business and this is what one of the top results was. They have a few different applicator options but I just went with the pens (not the combo pen-brush option) because all my chips were tiny and the website said it'd be easier to control. Only downside is they take a while to mix up the paint and ship it in from overseas but otherwise they matched it alright IMO.
I tried watching a video from TouchUpDirect but the videos didn't cover much at all - the one video I watched didn't even talk about tricolor coats and only showed the process on a white Jeep which looked to only take 2 pens (the white color and then a clearcoat). Seemed kinda easy for them.
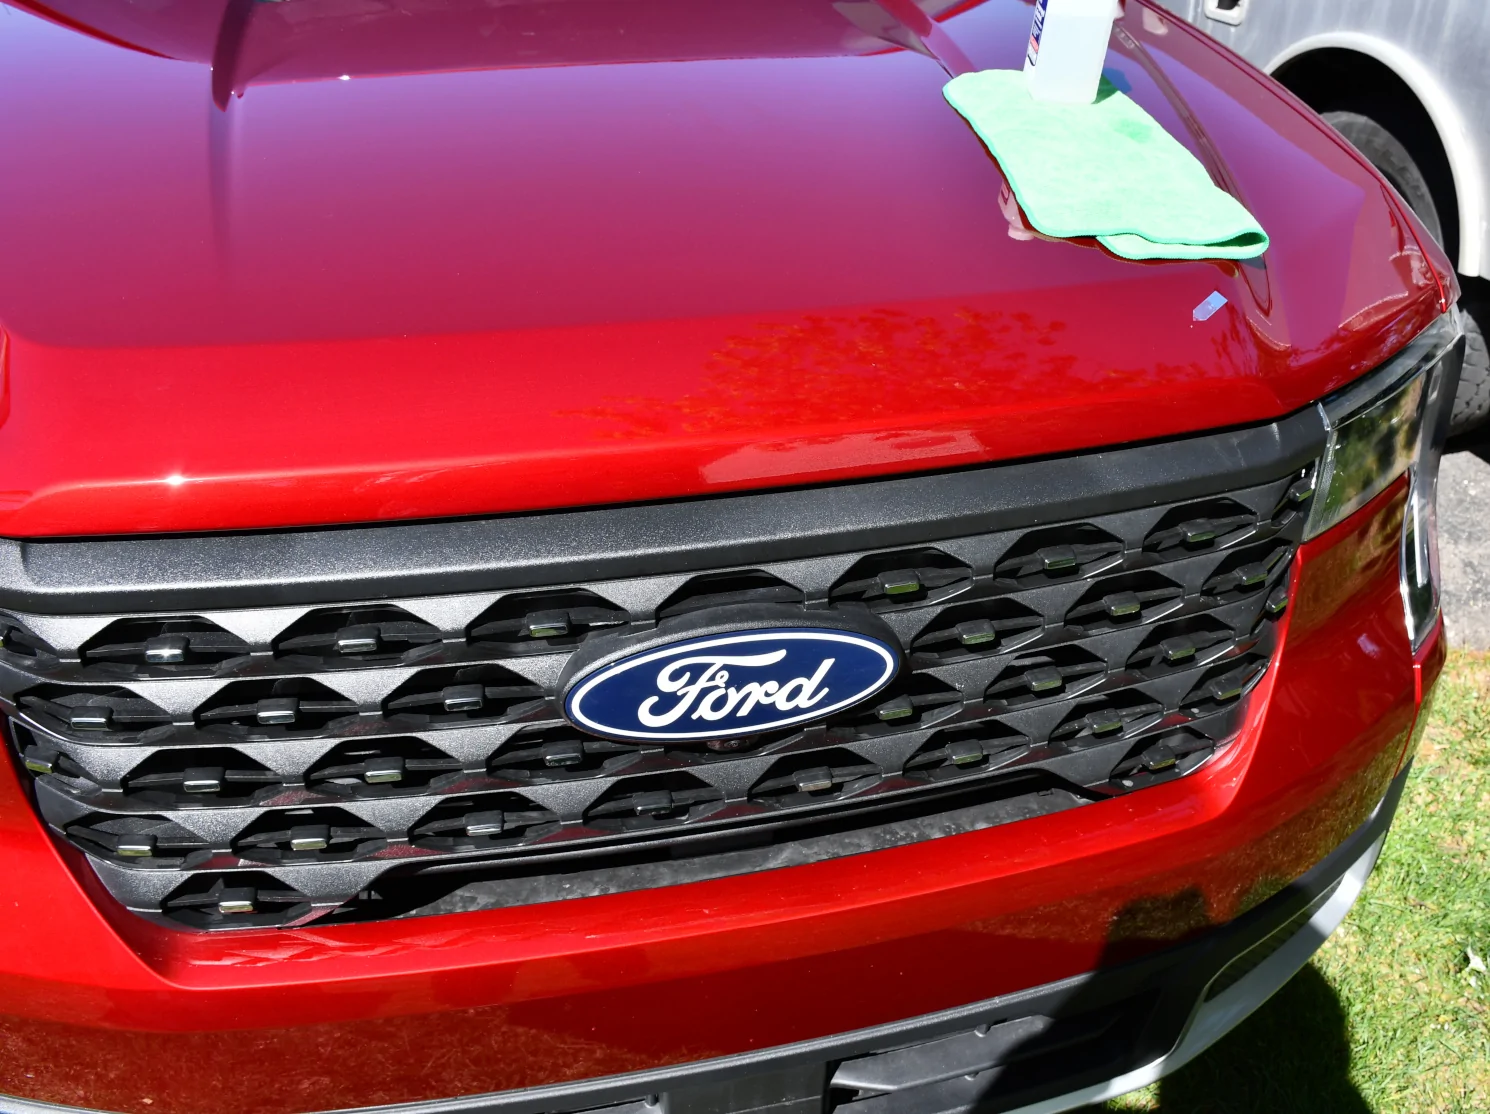
So I did a really basic wash-down on the Maverick to look over other spots, just sponge and car-soap, then a quick wipe-down with a microfiber towel to shine everything up and check the paint over. Found another spot on the hood that'd also fall under the hood protector and a few pinpricks on the fender (down to primer), then the spot where the little kid chipped my car (down to primer). I decided to just tackle the biggest chip on the hood (down to metal). I then blotted the area with rubbing alcohol and followed the pen priming instructions and got a kitchen timer to time each coat for 15min (per instructions) as I waited in the car.
Watching paint dry is very BORING! 2hr process due to needing to use 4 pens.
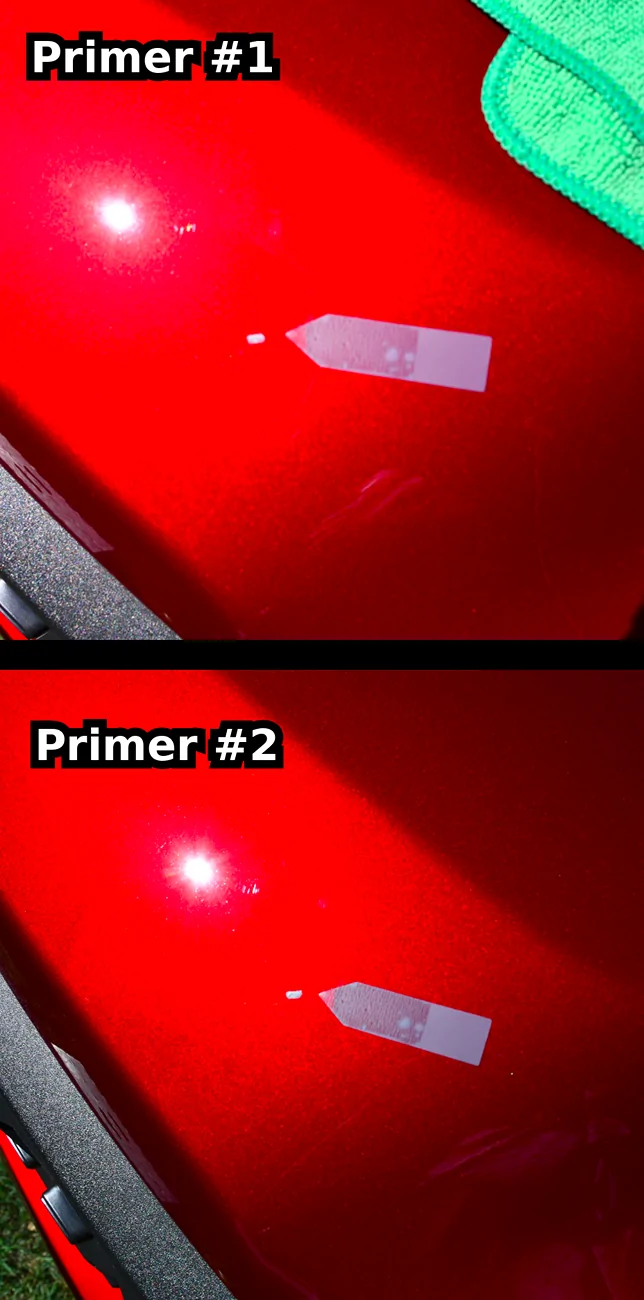
2 coats primer. The pen tip is much larger than the chip.
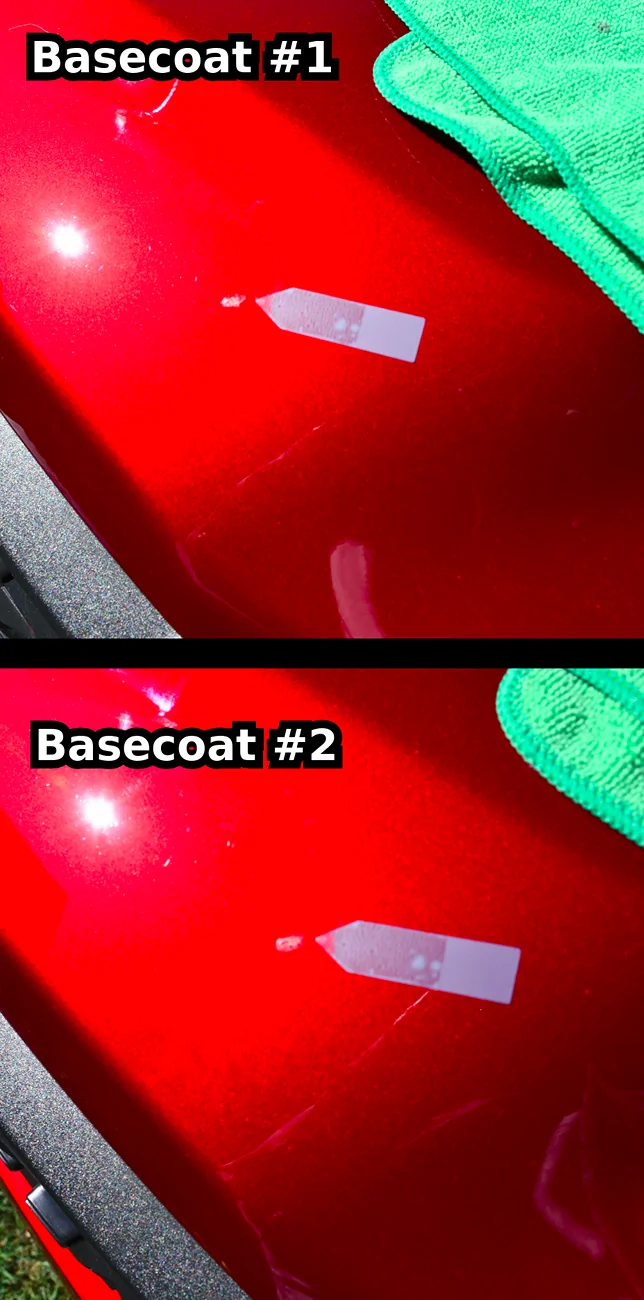
2 coats basecoat. 15min wait between eachs of these!
Starting to come together!
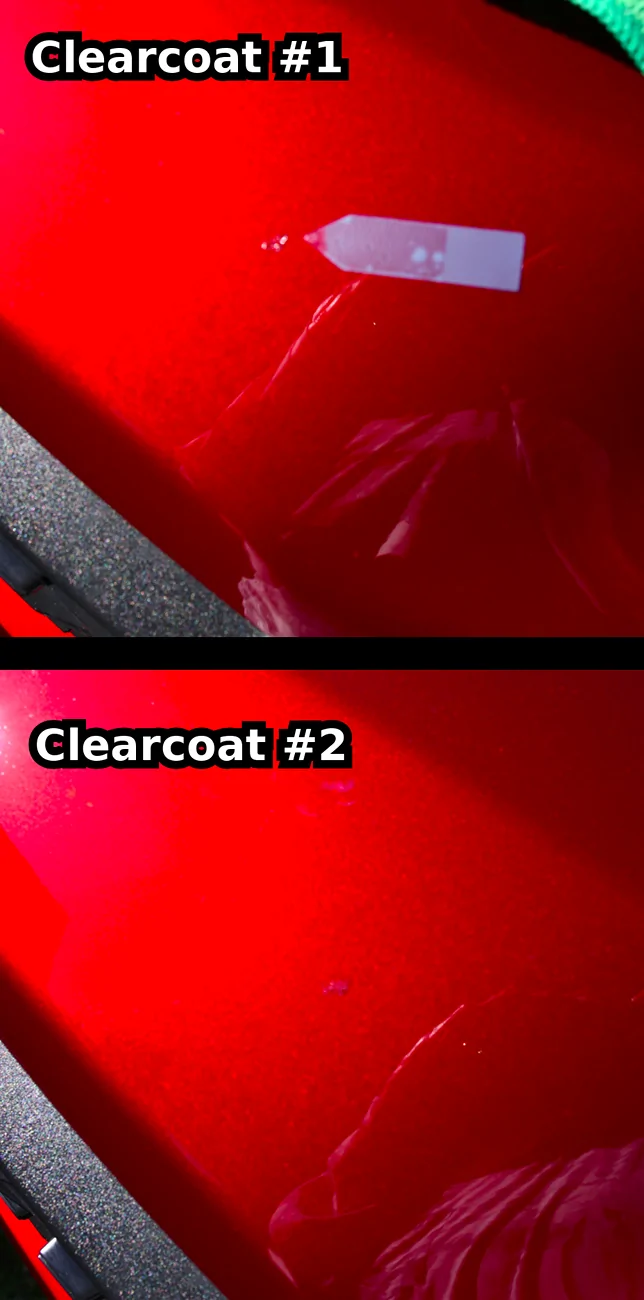
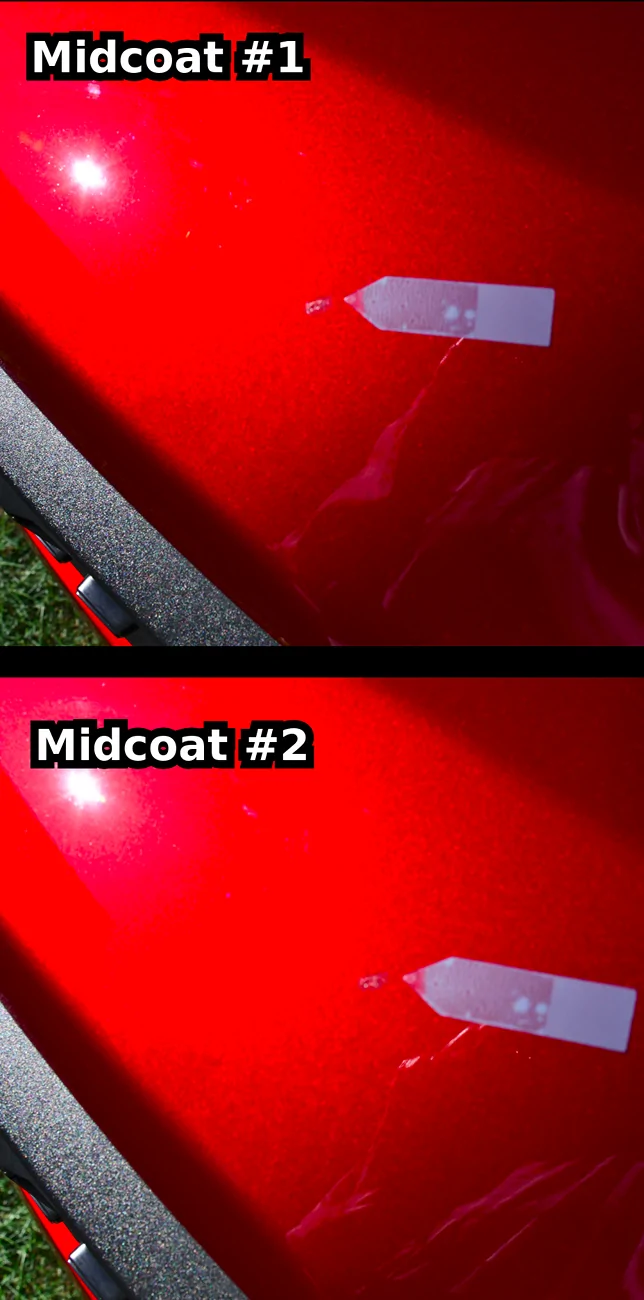
All these photos are taken right after application, so the paint is wet each time. Doesn't look too bad... I think?
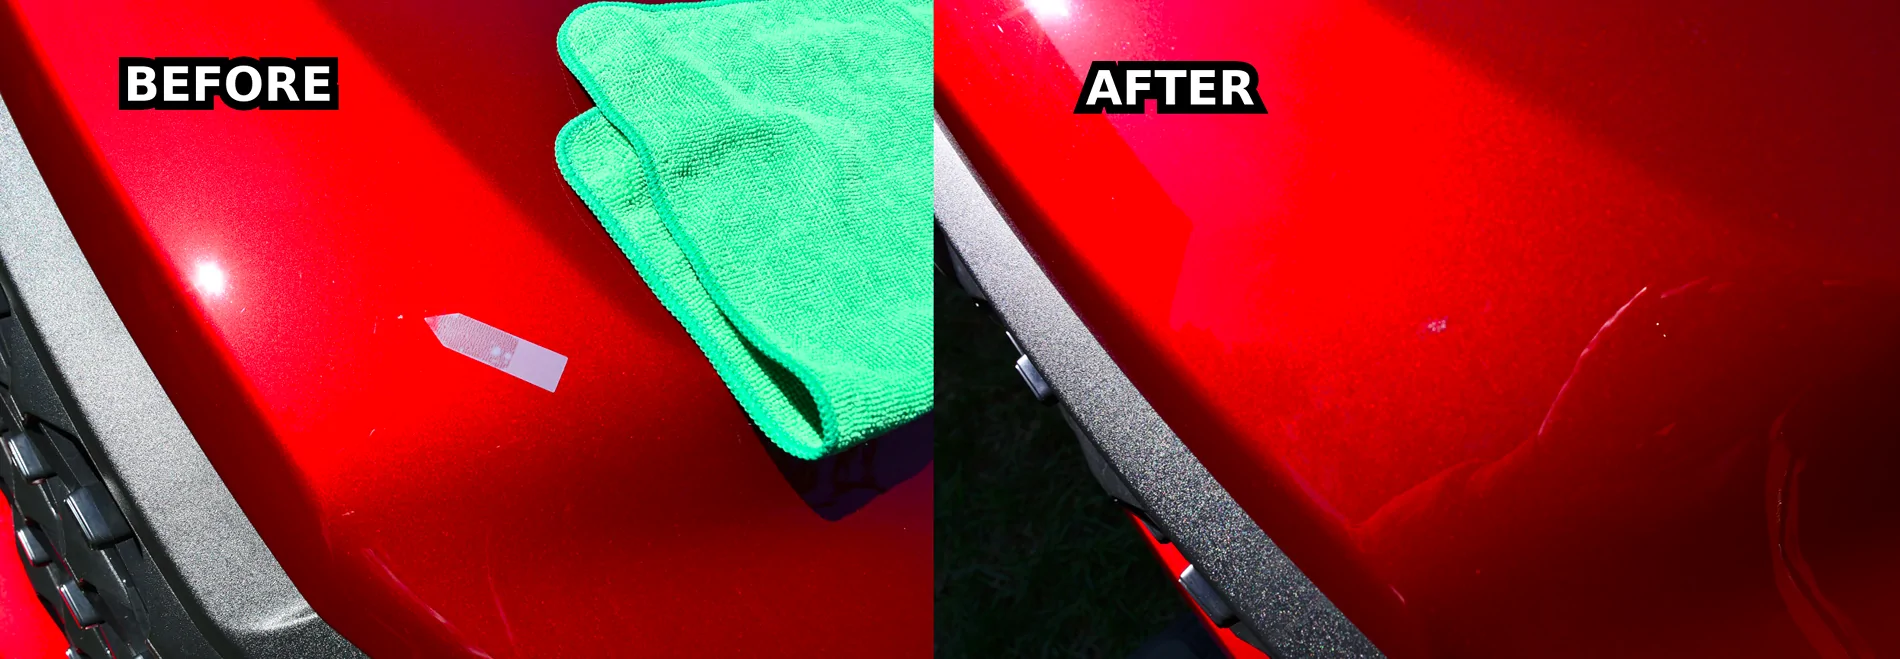
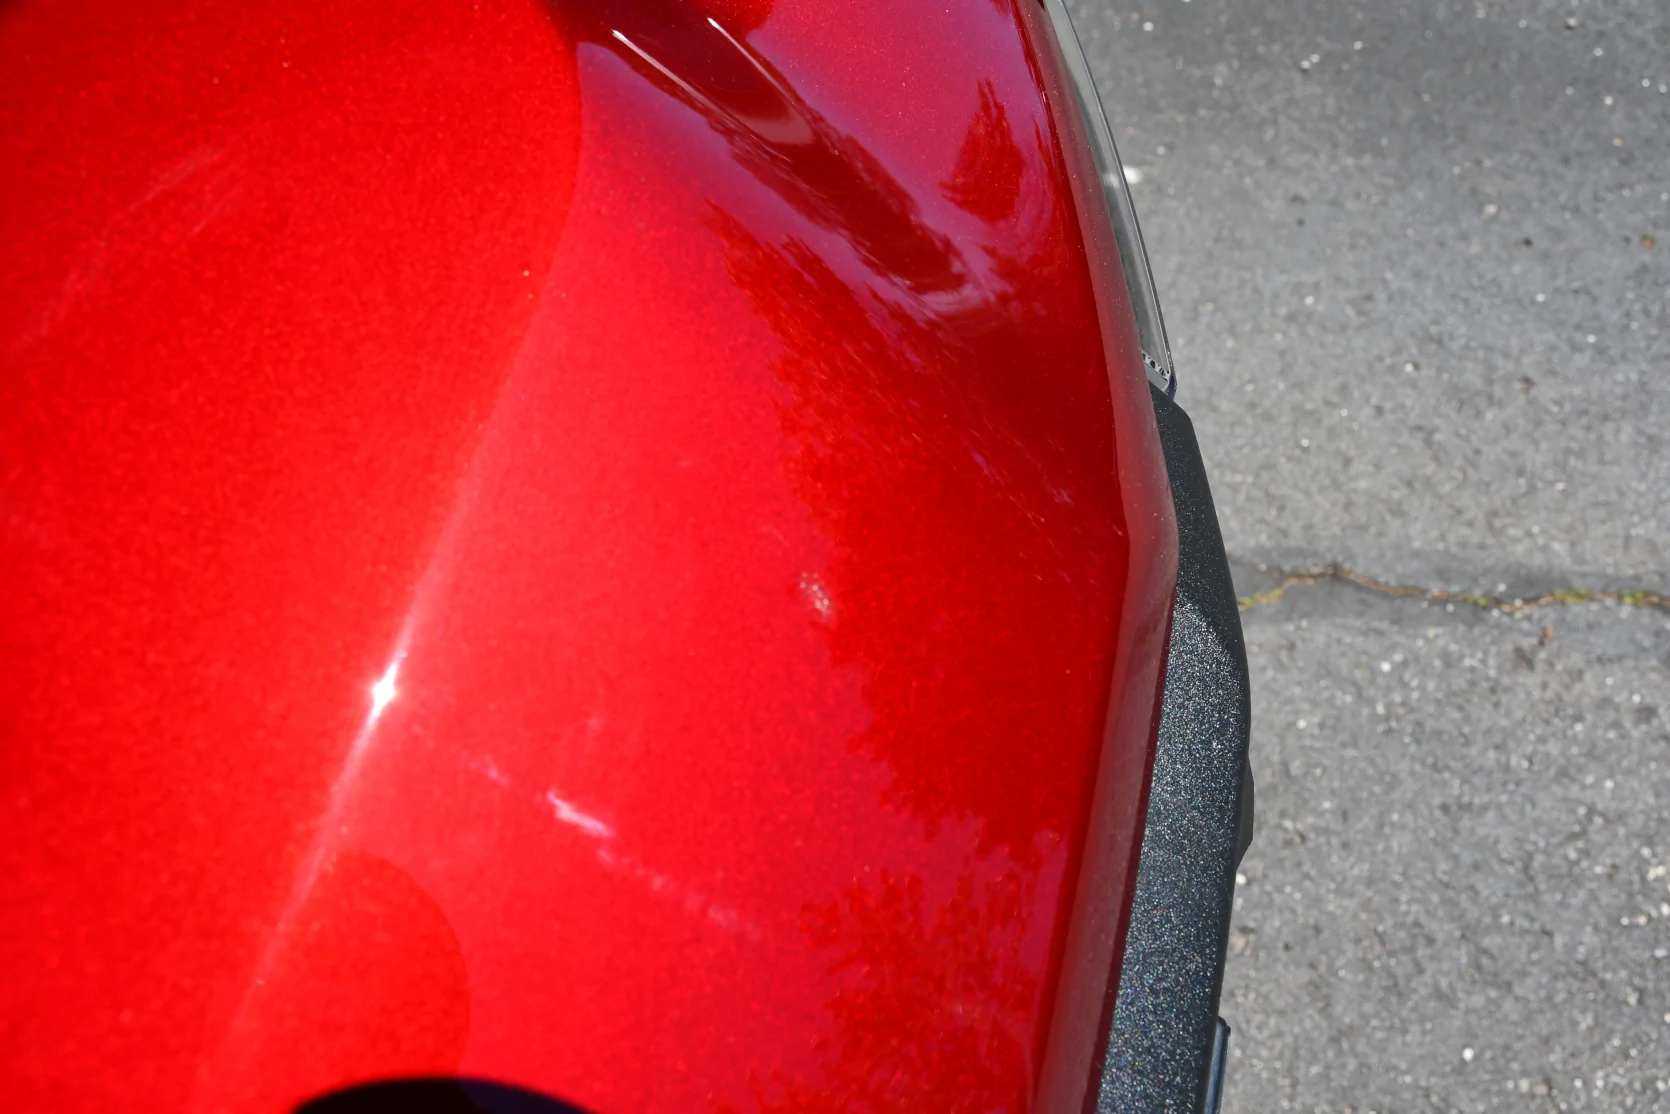
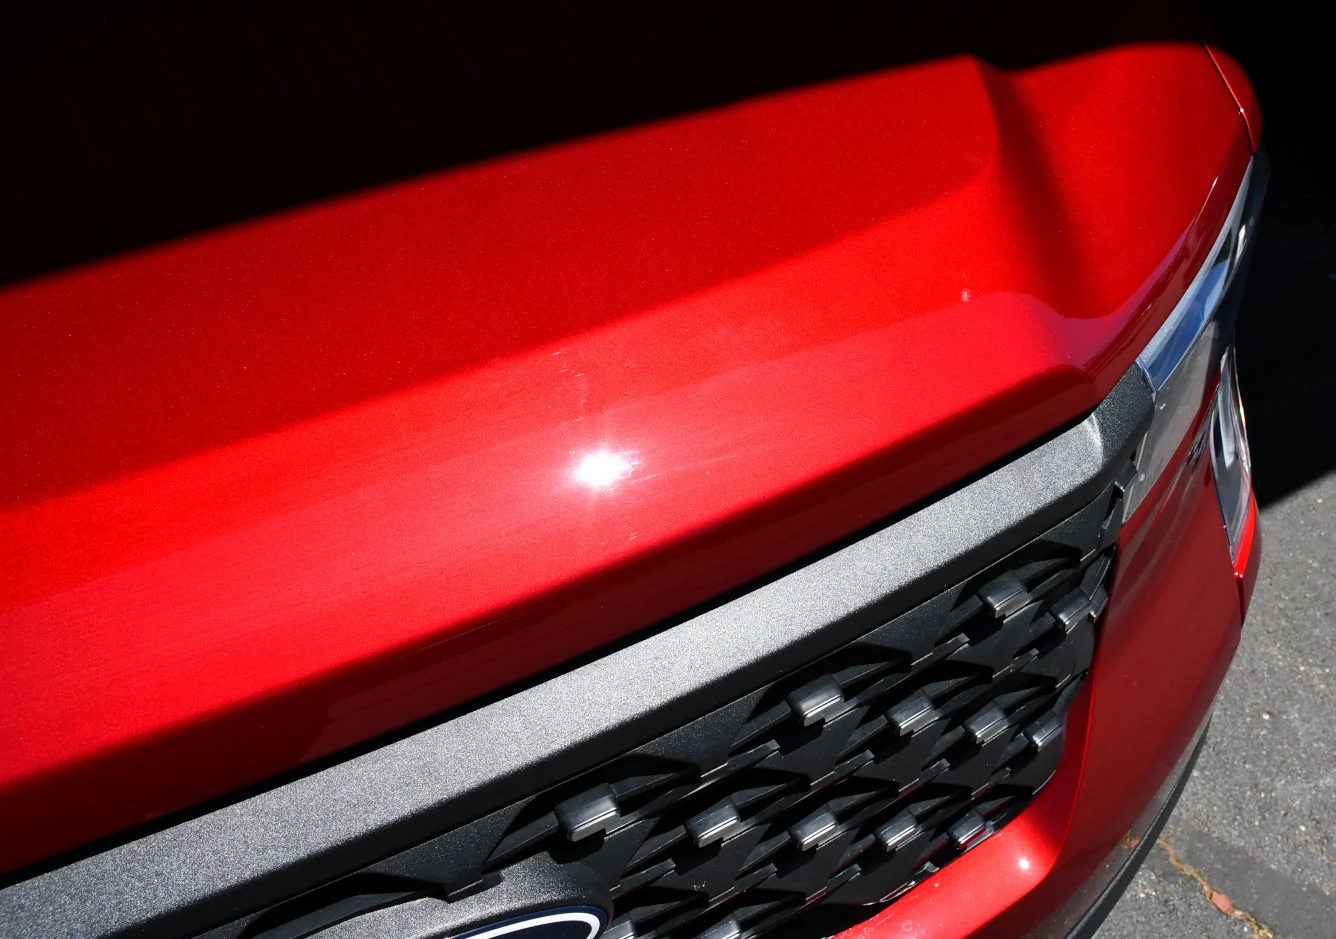
Weirdly, I think the picture does it more justice than not. This next photo was taken 1 day of dry-time afterwards...
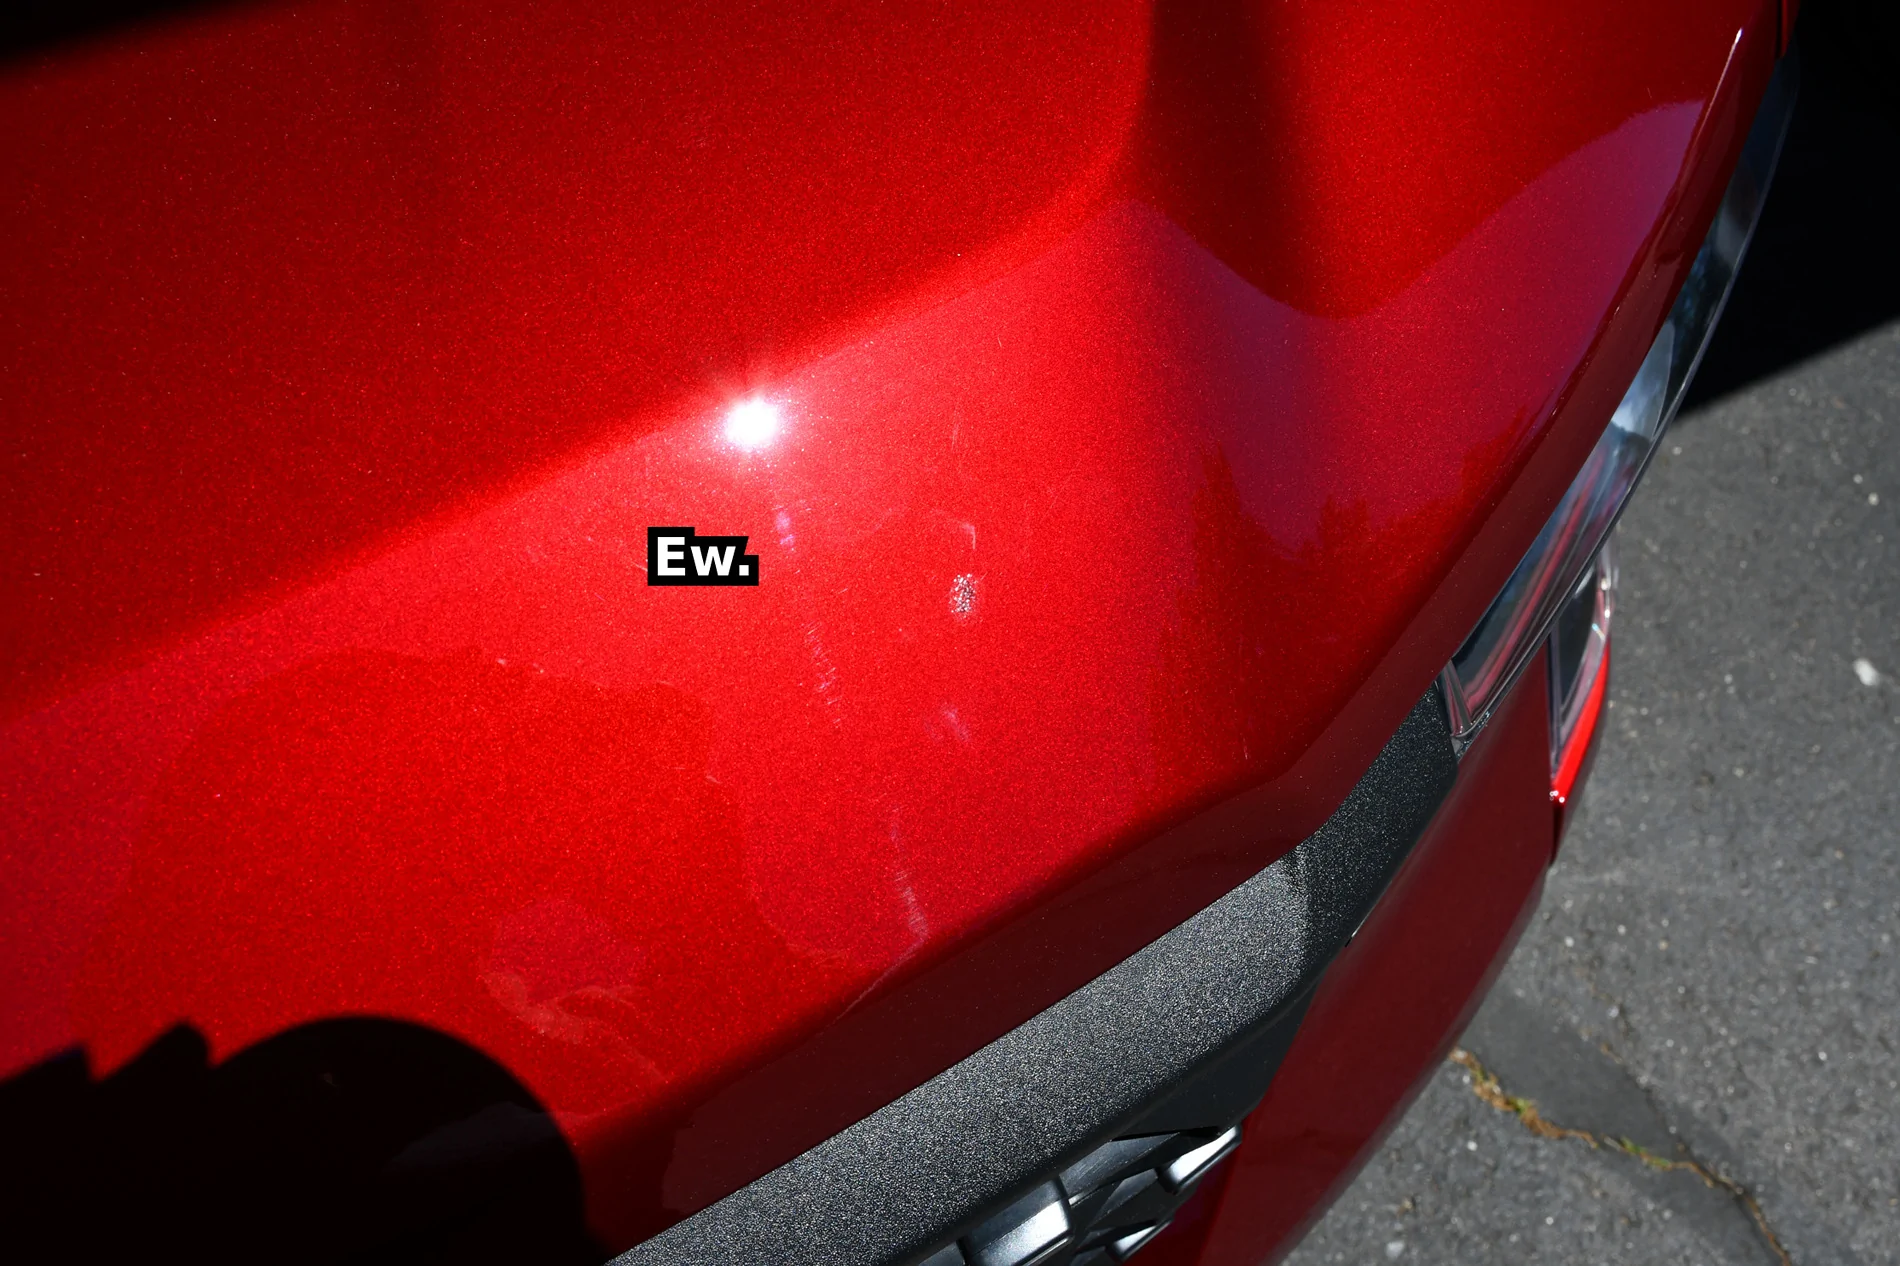
A different angle tells another story! Bummer.
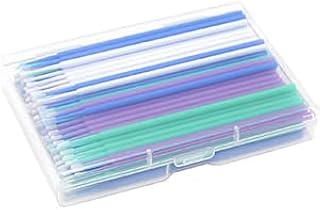
I ended up going back to TouchUpDirect and ordering their brush-style applicators. I think the color is matched great but I think with a brush applicator I can just ditch the brush and use just a toothpick or much smaller brush and get some good results on my other chips. My goal is to wait for the brush kit to arrive (a 2 week wait) and try it on the other chip on the hood before throwing the hood protector down.
If it eats me alive then I figure getting the hood popped off and professionally refinished might be easier than the door, at least.
I'll try to take more photos when I get the brush kit in!
Until then, cheers!
Not even 2 weeks after bringing my baby-truck home did I realize this vehicle is a rock chip magnet!! When I had the tint installed, less than 1 week later, I was driving through a construction zone behind what I remember was a Chevy Spark and a rock flew out like a missile and cratered my windshield. Thankfully it was a free repair via insurance and it avoided the paint because I could tell it would've caused a dent.
Then one day I was backing into my spot and some toddler playing on a pile of rocks threw one at my door. About gave her a free ride scholarship through preschool, but decided that it would be worth it to check out touch up pens since already I was getting sprayed with rocks on my highway trips, especially since I tend to drive in the slower lanes and behind semi trucks frequently.
I've never tried to touch up paint on a car before, kinda been intimidated by the process and assumed I couldn't get good results, but I had some rock chips on the hood now, which I'm aware is aluminum and can't rust, but since I was going to stick a hood protector unibrow on the truck anyways I figured it'd be a good spot to guinea pig my technique.
I went through TouchUpDirect. Originally I was hoping to find a touch up kit through Ford but they didn't have a kit outlined anywhere on their accessories site so I just web searched for a business and this is what one of the top results was. They have a few different applicator options but I just went with the pens (not the combo pen-brush option) because all my chips were tiny and the website said it'd be easier to control. Only downside is they take a while to mix up the paint and ship it in from overseas but otherwise they matched it alright IMO.
I tried watching a video from TouchUpDirect but the videos didn't cover much at all - the one video I watched didn't even talk about tricolor coats and only showed the process on a white Jeep which looked to only take 2 pens (the white color and then a clearcoat). Seemed kinda easy for them.
So I did a really basic wash-down on the Maverick to look over other spots, just sponge and car-soap, then a quick wipe-down with a microfiber towel to shine everything up and check the paint over. Found another spot on the hood that'd also fall under the hood protector and a few pinpricks on the fender (down to primer), then the spot where the little kid chipped my car (down to primer). I decided to just tackle the biggest chip on the hood (down to metal). I then blotted the area with rubbing alcohol and followed the pen priming instructions and got a kitchen timer to time each coat for 15min (per instructions) as I waited in the car.
Watching paint dry is very BORING! 2hr process due to needing to use 4 pens.
2 coats primer. The pen tip is much larger than the chip.
2 coats basecoat. 15min wait between eachs of these!
Starting to come together!
All these photos are taken right after application, so the paint is wet each time. Doesn't look too bad... I think?
Weirdly, I think the picture does it more justice than not. This next photo was taken 1 day of dry-time afterwards...
A different angle tells another story! Bummer.
I ended up going back to TouchUpDirect and ordering their brush-style applicators. I think the color is matched great but I think with a brush applicator I can just ditch the brush and use just a toothpick or much smaller brush and get some good results on my other chips. My goal is to wait for the brush kit to arrive (a 2 week wait) and try it on the other chip on the hood before throwing the hood protector down.
If it eats me alive then I figure getting the hood popped off and professionally refinished might be easier than the door, at least.
I'll try to take more photos when I get the brush kit in!
Until then, cheers!
Sponsored